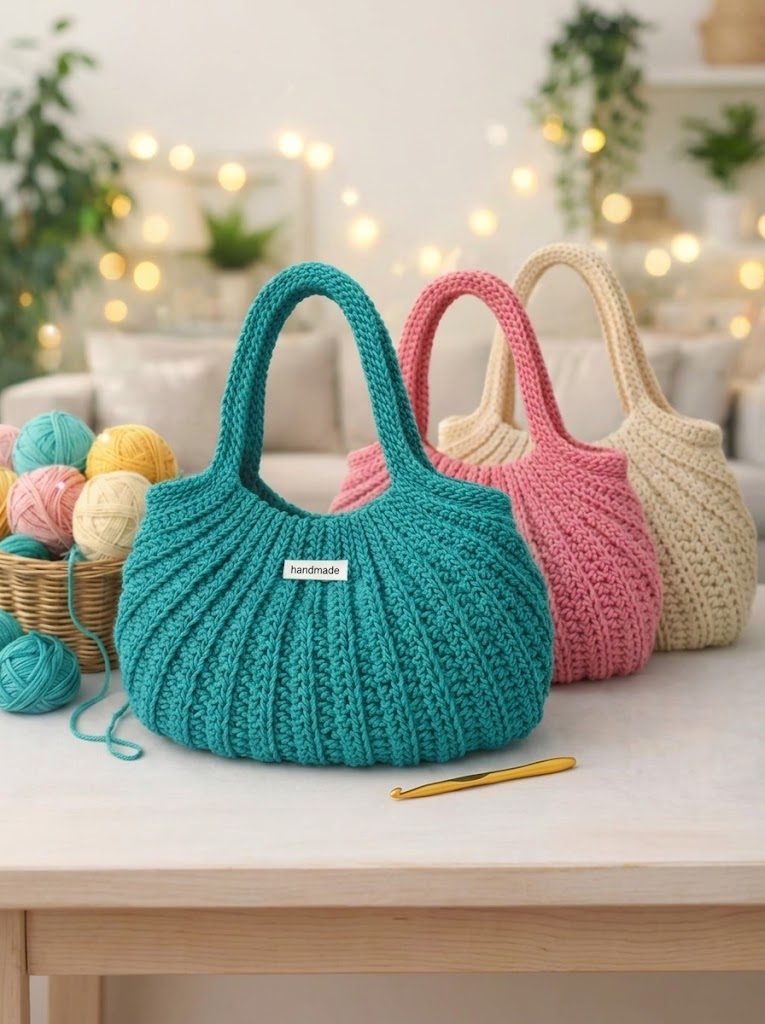
How to Crochet the Sculpted Green Pumpkin Bag: 30-Step Photo Masterclass
Step-by-step masterclass walkthrough on shaping ribbed pumpkin lobes, constructing a zero-sag reinforced base, and joining seamless sturdy handles.
- Technique & Style: Overlay mosaic crochet worked from right to left on right-side rows only, alternating Color A (BLOsc) and Color B (FLOdc drop stitches).
- Zero Ends to Weave In: All side fringe cut tails are completely encased inside a seamless double envelope border worked in the round.
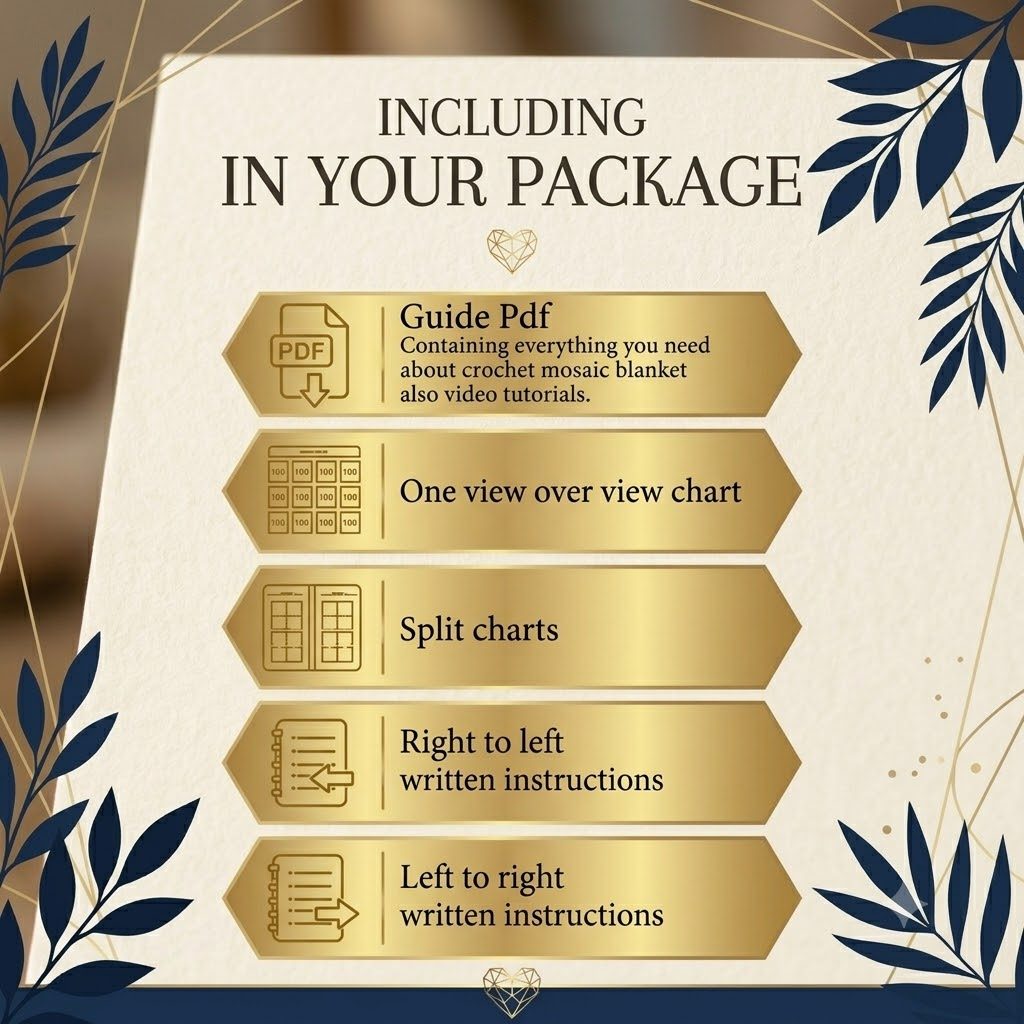
- Included Guides: Full row-by-row written instructions in standard US terms paired with marked high-resolution printable stitch charts.
- Yarn & Gauge: Uses an effortless 50/50 yardage split between Color A and Color B, easily customizable for DK #3, Worsted #4, or Bulky #5 weights.
Pattern Spotlight & Construction Secrets: The viral Green Pumpkin Bag utilizes vertical Back-Loop-Only half double crochet ribbing cinched at the base and contoured across 8 symmetrical pumpkin segments. Worked with sturdy ribbon yarn or doubled cotton, it balances whimsical cottagecore aesthetics with day-to-day durability.
1. Choosing the Right Yarn for Structured Bags
When crocheting bags that require distinct sculptural volume—like pumpkin lobes or melon curves—standard single-strand acrylic yarn often lacks the necessary tensile strength. Over time, carrying heavy items can cause lightweight acrylic to stretch and sag.
For our Green Pumpkin Bag Masterclass, we recommend:
- Cotton Ribbon Yarn (3-5mm): Provides crisp stitch definition, zero lint, and an ultra-chic matte texture.
- T-shirt Yarn (Recycled Cotton): Offers unmatched structural integrity and rapid row progression.
- Doubled Worsted (#4) Cotton: Working two strands of worsted cotton held together with a 5.0 mm hook yields a firm, dense fabric that requires zero stiffening sprays.
Green Pumpkin Bag — 30 Illustrated Steps
Full 16.4 MB masterclass PDF with step-by-step macro photos, handle tutorials, and lining templates.
2. The 3 Golden Rules for Pumpkin Ribbing
To achieve deep, pillowy creases between your pumpkin segments without sewing separate panels together:
- Work Exclusively into the Third Loop / Back Loop: Pushing the front two loops forward creates an embossed vertical ridge that mirrors natural pumpkin ridges.
- Consistent End-of-Row Slip Stitches: Tapering each end of the panel with graduating single crochets and slip stitches creates the natural curve of the base and top opening without needing awkward gathering bunches.
- Even Tension When Cinched: Use strong nylon or doubled crochet thread to draw the base closed to ensure zero gap at the bottom center.
Sculpt a gorgeous, structured ribbed green pumpkin tote with this step-by-step 30-photo masterclass. Includes sturdy base construction, durable strap join, and optional fabric lining guide.
Planning to Crochet This Blanket?
Use our Free Crochet Blanket Yardage Calculator to calculate exact stitch counts, row counts, and 50/50 overlay mosaic color splits for any custom size.
Shop Matching Mosaic Blanket Patterns
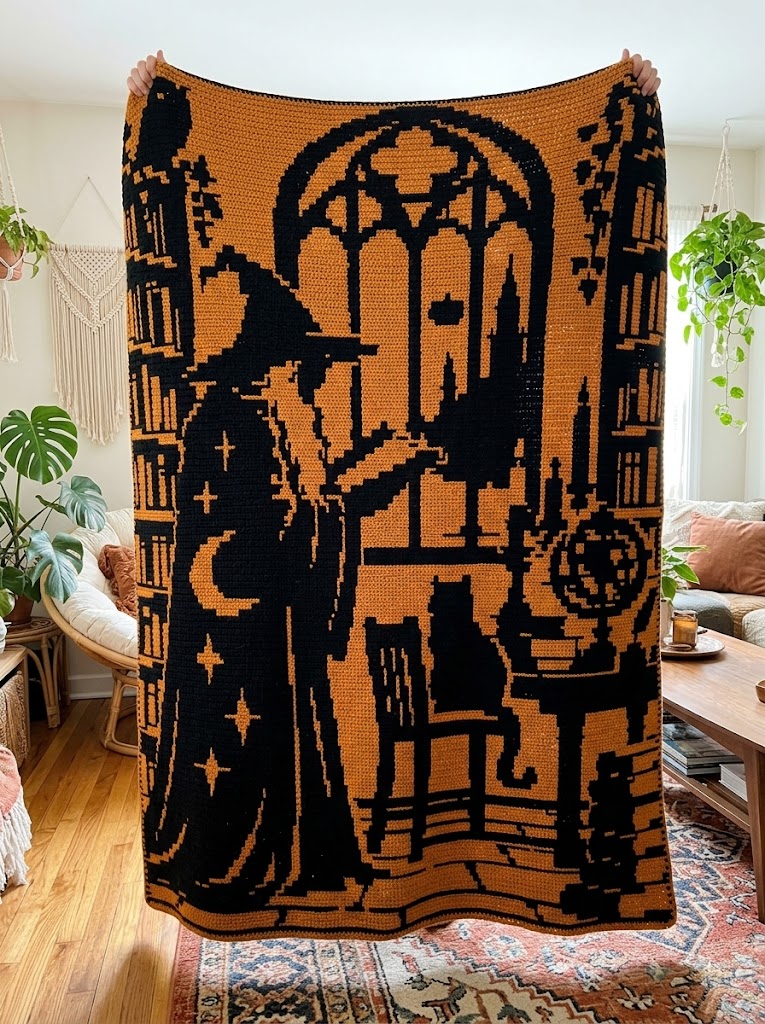
Masterclass Guide: How to Steam Block Large Acrylic Crochet Blankets [PDF Guide]
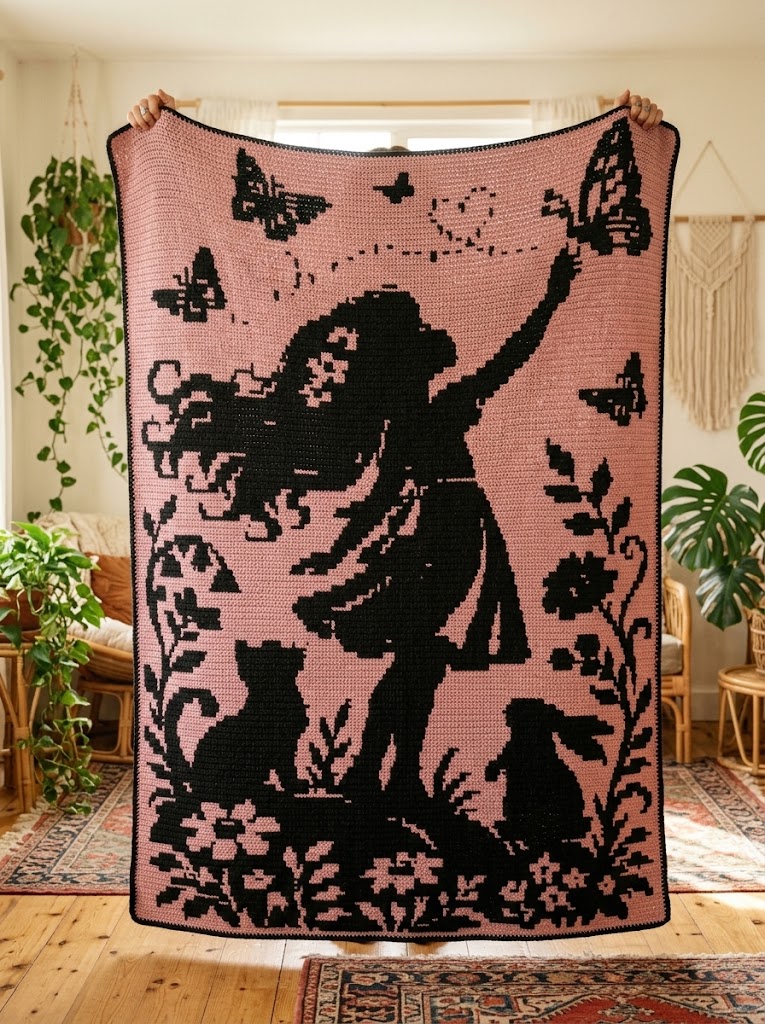
Masterclass Guide: How to Fix Slanting Edges & Curling in Mosaic Crochet [PDF Guide]
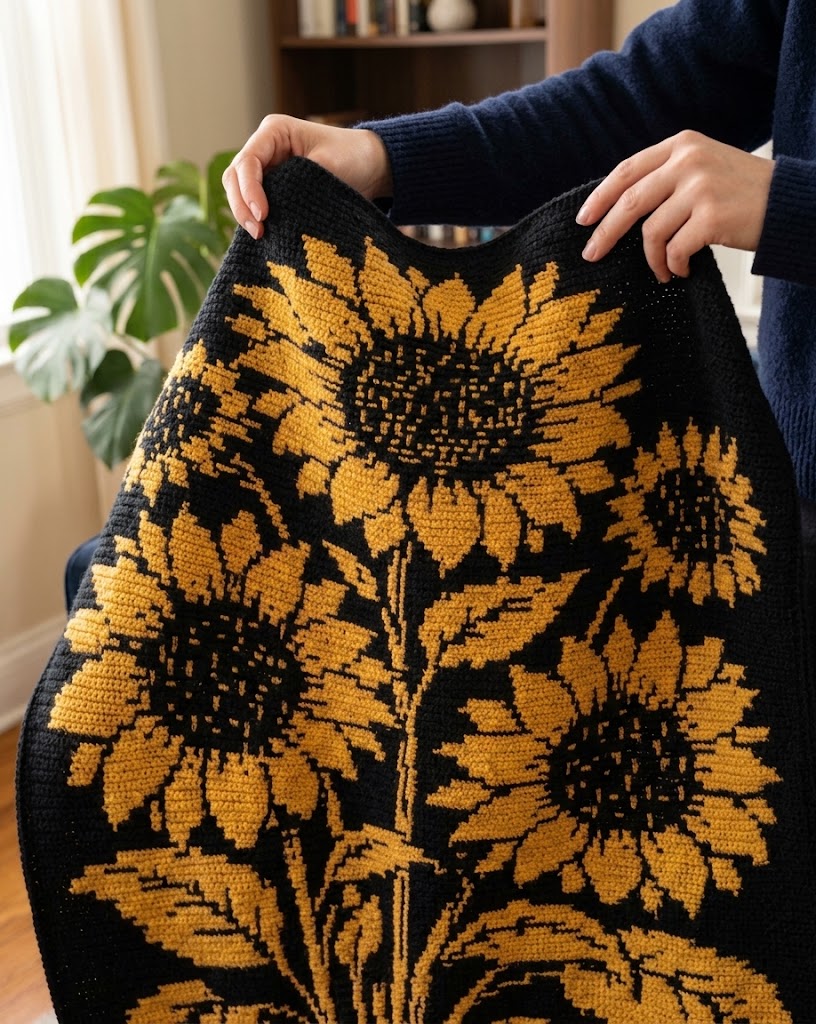
Masterclass Guide: How to Calculate Yarn Yardage for Mosaic Blankets [PDF Guide + Calculator]
Related Crochet Tutorials & Guides
How to Crochet the Elegant Everyday Tote: Seamless Base & Sturdy Straps
A complete beginner-friendly tutorial for crafting a chic, minimalist tote bag with reinforced handles that never stretch or snap.
How to Crochet an Elegant Everyday Shoulder Bag (Beginner Friendly Guide)
Step-by-step beginner guide to crocheting a sturdy seamless market tote with comfortable, non-sagging shoulder handles.
How to Steam Block a Large Acrylic Crochet Blanket (Step-by-Step Without Melting)
Transform stiff acrylic stitches into a luxurious, draping heirloom. Learn how to steam block large crochet blankets safely without flattening or melting synthetic fibers.
🔗 Share or Reference This Guide on Your Blog
Are you a crochet blogger, yarn creator, or craft curator? You are welcome to reference or cite this tutorial on your website. Click below to copy a ready-to-use HTML link.
<p>Reference: <a href="https://crochetpinterest.com/blog/how-to-crochet-green-pumpkin-bag-masterclass" target="_blank" rel="noopener">How to Crochet the Sculpted Green Pumpkin Bag: 30-Step Photo Masterclass on crochet pinterest</a>.</p>
[How to Crochet the Sculpted Green Pumpkin Bag: 30-Step Photo Masterclass on crochet pinterest](https://crochetpinterest.com/blog/how-to-crochet-green-pumpkin-bag-masterclass)