How to Crochet a Double Envelope Border (Hide All Yarn Tails Without Weaving)
Say goodbye to weaving in hundreds of fringe ends. Learn how to work an elegant double envelope border that encases all raw yarn tails inside a clean double-layered hem.
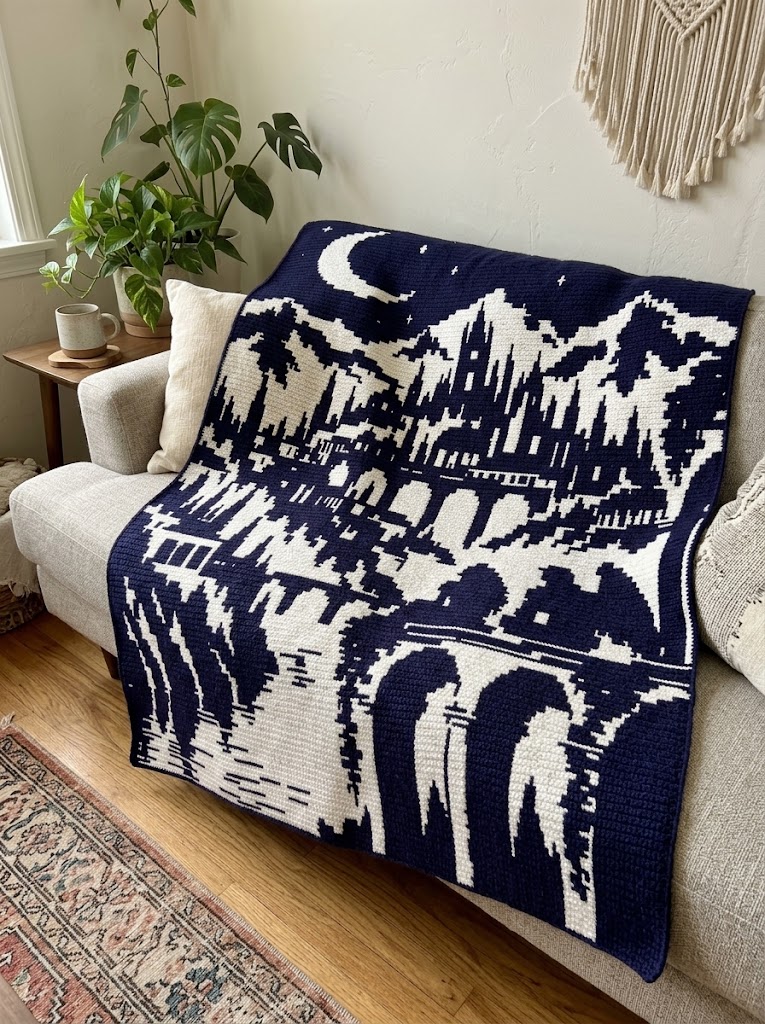
- Technique & Style: Overlay mosaic crochet worked from right to left on right-side rows only, alternating Color A (BLOsc) and Color B (FLOdc drop stitches).
- Zero Ends to Weave In: All side fringe cut tails are completely encased inside a seamless double envelope border worked in the round.
- Included Guides: Full row-by-row written instructions in standard US terms paired with marked high-resolution printable stitch charts.
- Yarn & Gauge: Uses an effortless 50/50 yardage split between Color A and Color B, easily customizable for DK #3, Worsted #4, or Bulky #5 weights.
BLUF (Bottom Line Up Front): A double envelope border completely eliminates the need to weave in cut mosaic yarn ends by sandwiching all raw fringes between two parallel crochet walls. By crocheting a front border wall into the front loops and a back border wall into the back loops, tails remain permanently concealed inside a durable hem.
Table of Contents
- 1. The Genius of the Double Envelope Border
- 2. Sizing Hooks & Calculating Border Stitch Ratios
- 3. Working the Back Wall (Reverse Side Setup)
- 4. Working the Front Wall & Corner Turns
- 5. Packing Tails & The Final Joining Seam
- 6. Envelope Border vs. Hand Weaving vs. Tassels
- 7. Frequently Asked Questions
1. The Genius of the Double Envelope Border
Because overlay mosaic crochet requires cutting your yarn at the end of every single row, a typical afghan can easily produce between 300 and 500 loose fringe tails. Weaving in that many ends by hand with a tapestry needle could take 20 to 30 agonizing hours—and risks unravelling in the laundry.
The double envelope border (also known as a pocket border or sandwich border) solves this forever. It constructs two parallel fabric layers that capture all yarn tails inside an internal chamber, creating a crisp, weighted picture-frame hem.
ACOTAR Velaris City of Starlight Blanket
A 240-row fantasy masterpiece featuring moonlit peaks and starlight skies that looks majestic finished with an envelope border.
2. Sizing Hooks & Calculating Border Stitch Ratios
The number one mistake makers commit when building an envelope border is using the same hook size as the blanket body. Because the border consists of two overlapping layers, you must prevent the edges from flaring or waving:
- Hook Size: Drop your hook size down by 0.5 mm to 1.0 mm from your blanket body hook (e.g. if you crocheted the body with a 5.0 mm hook, use a 4.0 mm or 4.5 mm hook for the border walls).
- Side Ratio: Pick up approximately 1 single crochet for every row end. If your edge puckers, skip 1 stitch every 8 to 10 rows to maintain a flat, square perimeter.
3. Working the Back Wall (Reverse Side Setup)
Turn your blanket to the back side. Attach your border yarn (typically Color A or a contrasting charcoal/cream) into the back loops of the side edge stitches.
- Work Round 1 in single crochet around the entire perimeter, executing (1 sc, ch 2, 1 sc) in all four corners.
- Work Rounds 2 through 4 in regular single crochet through both loops, keeping tension firm. Fasten off and leave a tail.
4. Working the Front Wall & Corner Turns
Turn your blanket right side up. Attach yarn into the remaining front loops of the side edge stitches directly opposite your back wall foundation round.
- Work Round 1 in single crochet around the entire perimeter, placing identical corner stitch counts.
- Work Rounds 2 through 4 in single crochet, creating an identical twin wall that mirrors the back layer exactly.
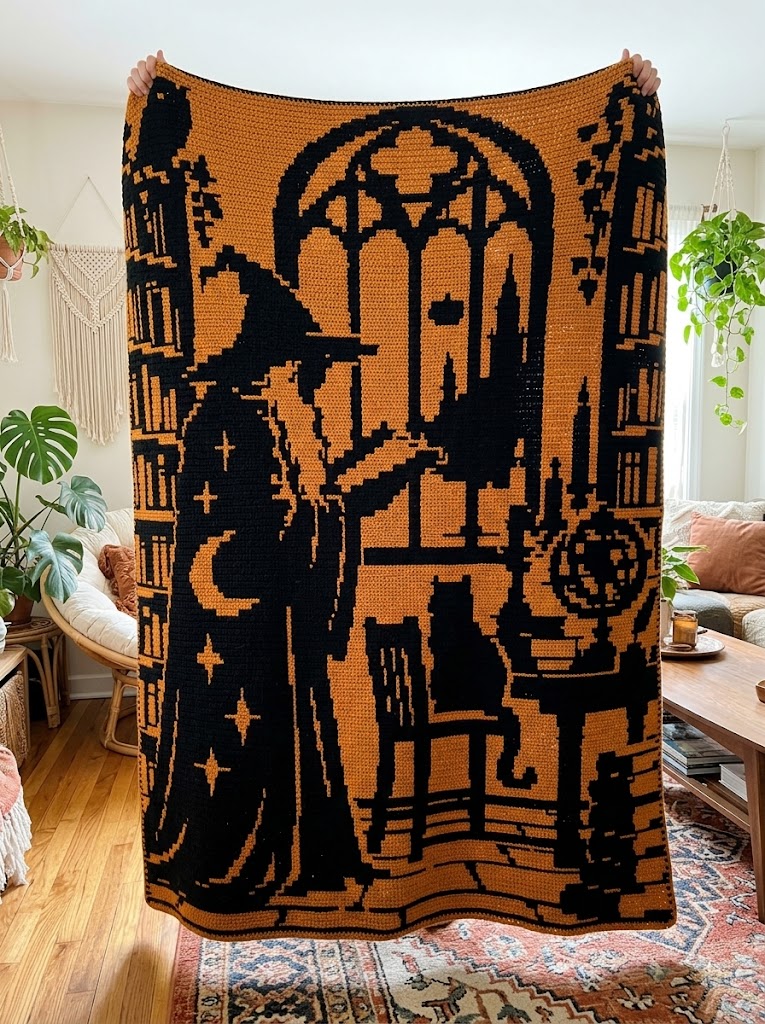
Cathedral Ghost & Gothic Archway Blanket
Deep obsidian contrasts and cathedral spires look ultra-luxurious framed with a sleek double envelope hem.
5. Packing Tails & The Final Joining Seam
Before joining the two walls:
- Tie adjacent pairs of yarn tails in simple square knots to lock the row ends.
- Trim the tails to approximately 1.5 to 2 inches long. Smooth all fringes flat between the front and back walls like filling inside a pocket.
- Hold both walls together, aligning stitch for stitch. Insert your hook through BOTH loops of the front wall AND both loops of the back wall simultaneously. Work slip stitches or single crochets all the way around to seal the envelope permanently.
6. Envelope Border vs. Hand Weaving vs. Tassels
| Method | Time Investment | Durability in Wash | Edge Bulk | Aesthetic Finish |
|---|---|---|---|---|
| Double Envelope Border | 3 – 5 Hours | 100% Secure (Zero ends pop out) | Cushioned, structured hem | Professional frame finish |
| Hand Weaving 400 Ends | 20 – 30 Hours | Medium (Ends may fray loose) | Lumpy, uneven side edges | Plain raw border |
| Knotted Fringe Tassels | 1 – 2 Hours | Low (Tassels tangle in washer) | Flat with stringy sides | Boho / rustic fringe |
Frequently Asked Questions
Q: How much extra yarn do I need to reserve for a double envelope border?
A standard double envelope border typically requires 20% to 25% of your total blanket yardage. For a throw blanket requiring 2,200 yards for the body, reserve approximately 450 to 550 yards specifically for both border walls and the joining seam.
Q: Should I trim the yarn tails before closing the envelope border?
Yes, but never cut them too short! Knot adjacent tails in loose pairs and trim them to about 1.5 to 2 inches long. This leaves plenty of fiber length so knots will never work loose inside the border pocket.
Q: What hook size should I use for the border compared to the blanket body?
Always size down your hook by 0.5 mm or 1.0 mm for the border. For example, if you crocheted the body using a 5.0 mm hook, use a 4.0 mm or 4.5 mm hook to keep the border walls compact, firm, and completely free of ruffling.
Q: Will the cut tails unravel inside the envelope border during machine washing?
Not at all! When you gently machine wash on a delicate cycle in cool water, the cut ends inside the pocket naturally felt and intertwine with each other, forming a soft, permanent internal padding layer that never shifts.
"To the stars who listen and the dreams that are answered." Crochet the breathtaking Night Court peaks of Velaris, three crescent mountains, starry skies, and the winding Sidra River in luxurious mosaic crochet.
Planning to Crochet This Blanket?
Use our Free Crochet Blanket Yardage Calculator to calculate exact stitch counts, row counts, and 50/50 overlay mosaic color splits for any custom size.
Shop Matching Mosaic Blanket Patterns
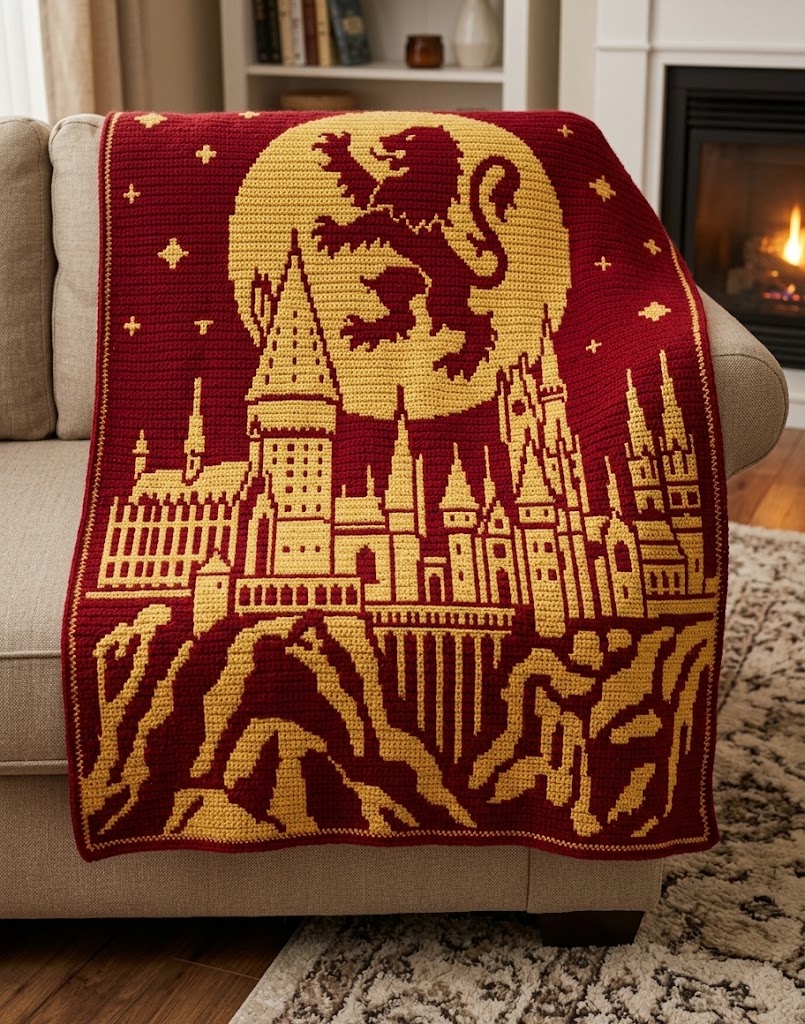
Brave Lion Crest House of Chivalry & Courage Mosaic Crochet Blanket Pattern
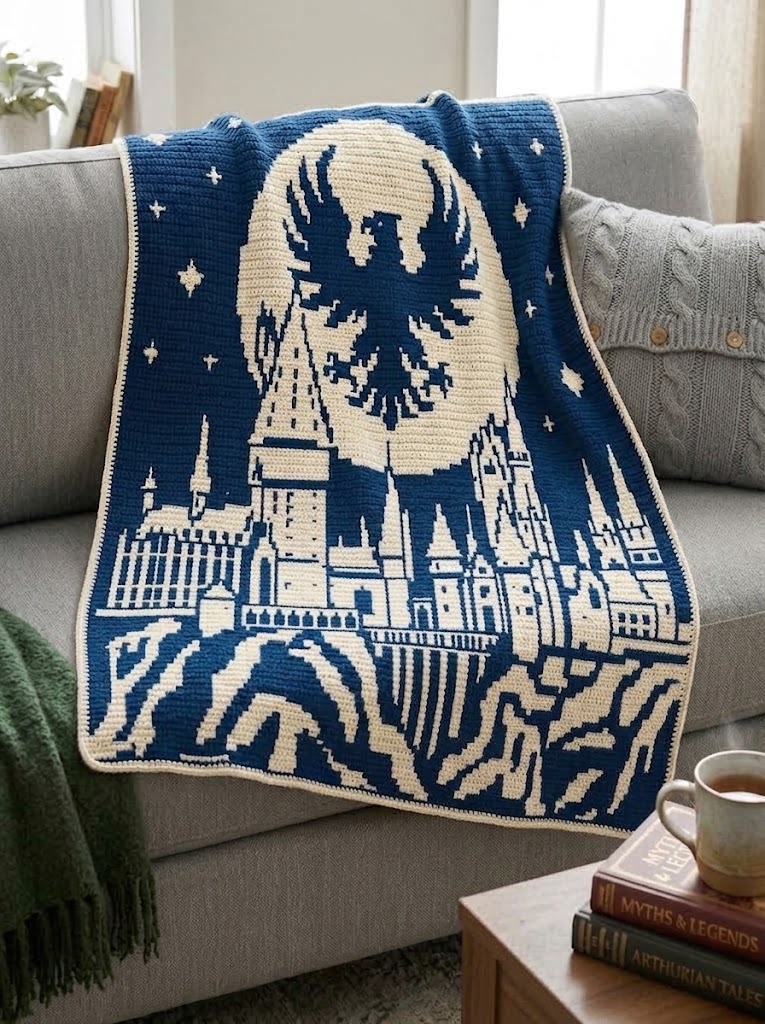
Wise Eagle Crest House of Wit & Bronze Mosaic Crochet Blanket Pattern
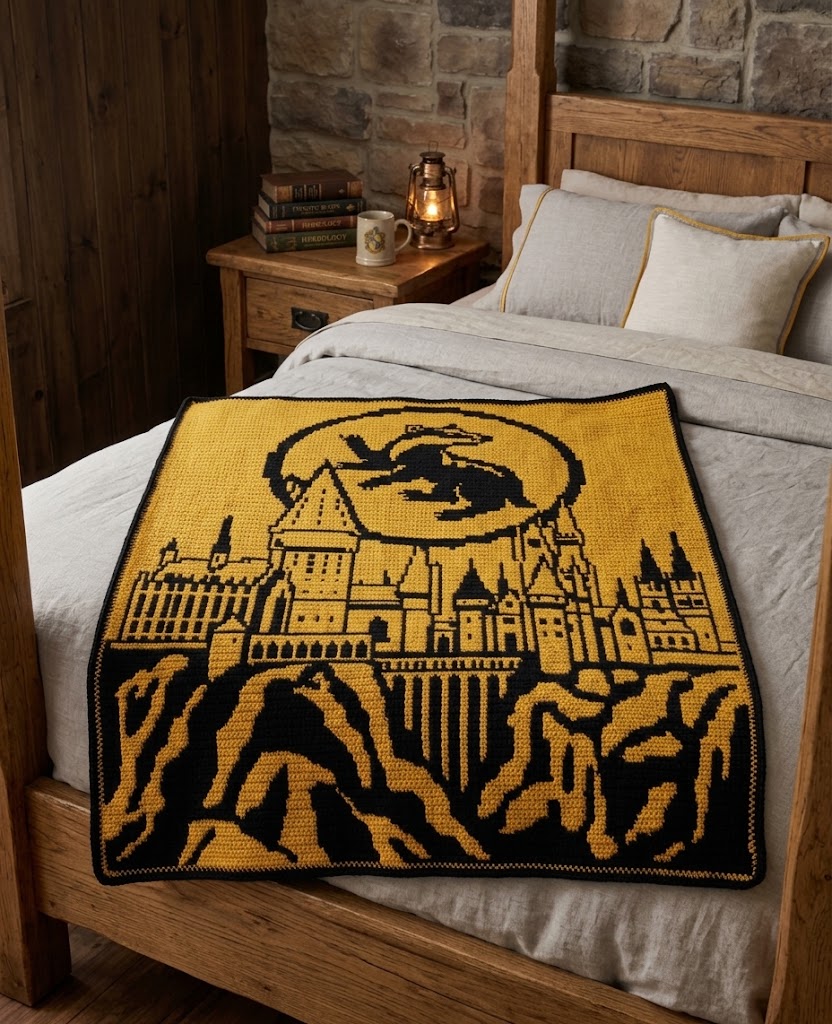
Loyal Badger Crest House of Earth & Gold Mosaic Crochet Blanket Pattern
Related Crochet Tutorials & Guides
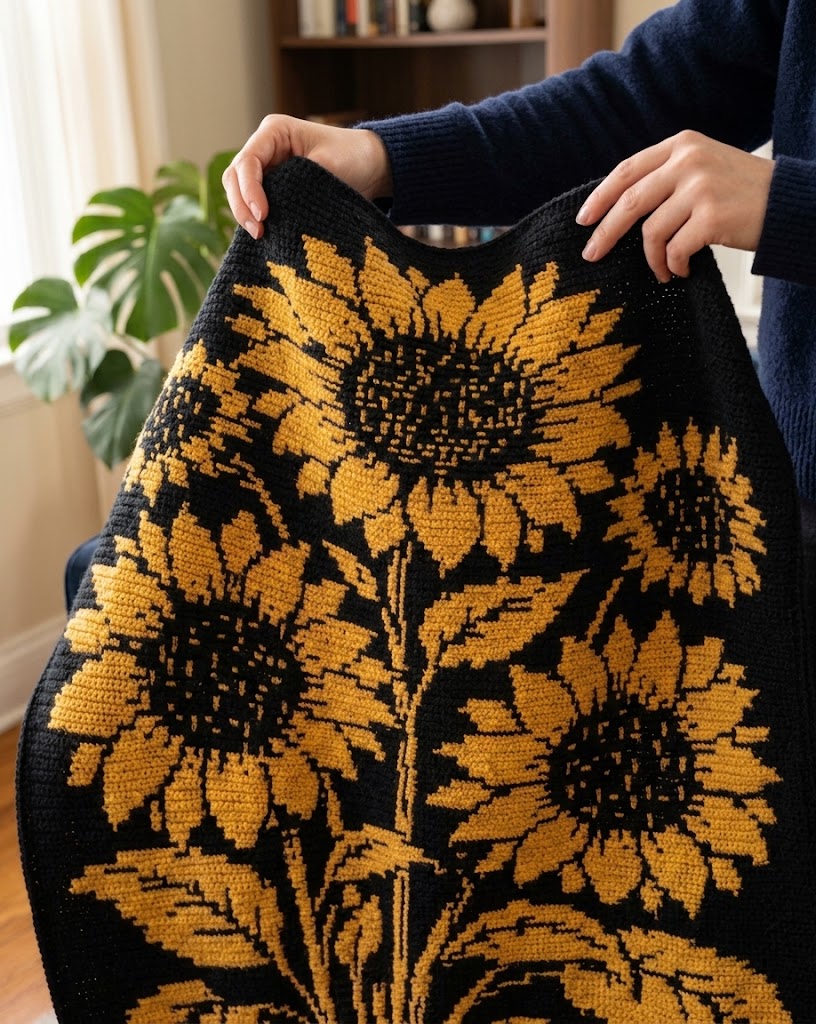
How to Steam Block a Large Acrylic Crochet Blanket (Step-by-Step Without Melting)
Transform stiff acrylic stitches into a luxurious, draping heirloom. Learn how to steam block large crochet blankets safely without flattening or melting synthetic fibers.
How to Fix Slanting Edges & Curling in Mosaic Crochet (Tension & Hook Size Secrets)
Is your mosaic blanket slanting into a parallelogram or curling like a taco? Discover the technical reasons behind tension distortion and 4 quick fixes to achieve perfectly straight edges.
How to Calculate Yarn Yardage for a Mosaic Crochet Blanket (Color A vs Color B Ratio)
Never run out of yarn mid-project again. Accurately calculate total yardage, estimate Color A vs Color B ratios, and budget for envelope borders with our proven formula.
🔗 Share or Reference This Guide on Your Blog
Are you a crochet blogger, yarn creator, or craft curator? You are welcome to reference or cite this tutorial on your website. Click below to copy a ready-to-use HTML link.
<p>Reference: <a href="https://crochetpinterest.com/blog/how-to-crochet-double-envelope-border-hide-tails" target="_blank" rel="noopener">How to Crochet a Double Envelope Border (Hide All Yarn Tails Without Weaving) on crochet pinterest</a>.</p>
[How to Crochet a Double Envelope Border (Hide All Yarn Tails Without Weaving) on crochet pinterest](https://crochetpinterest.com/blog/how-to-crochet-double-envelope-border-hide-tails)